If you and your creative partners are collaborating on a passion project like a magazine, storyboard, or videogame, it's like you're creating lots of images to share your vision. AI image generators like Microsoft Designer’s Image Creator are perfect for this, generating vivid scenes, characters, and artwork as quickly as you can dream them up.
But what if you want your creative partners to be able to iterate on and improve on the images you creative? Prompt templates to the rescue. Using Microsoft Designer, you can turn promising prompts into shareable templates in just a couple of clicks.
I’ve found this process extremely helpful in my own creative work, and I’m excited to share it with you. Let’s walk through how to create and share prompt templates in Microsoft Designer.
Option 1: Start with a prompt template
First, head to designer.microsoft.com.
On the Designer home page, explore the section labeled Create your own images with prompt templates.
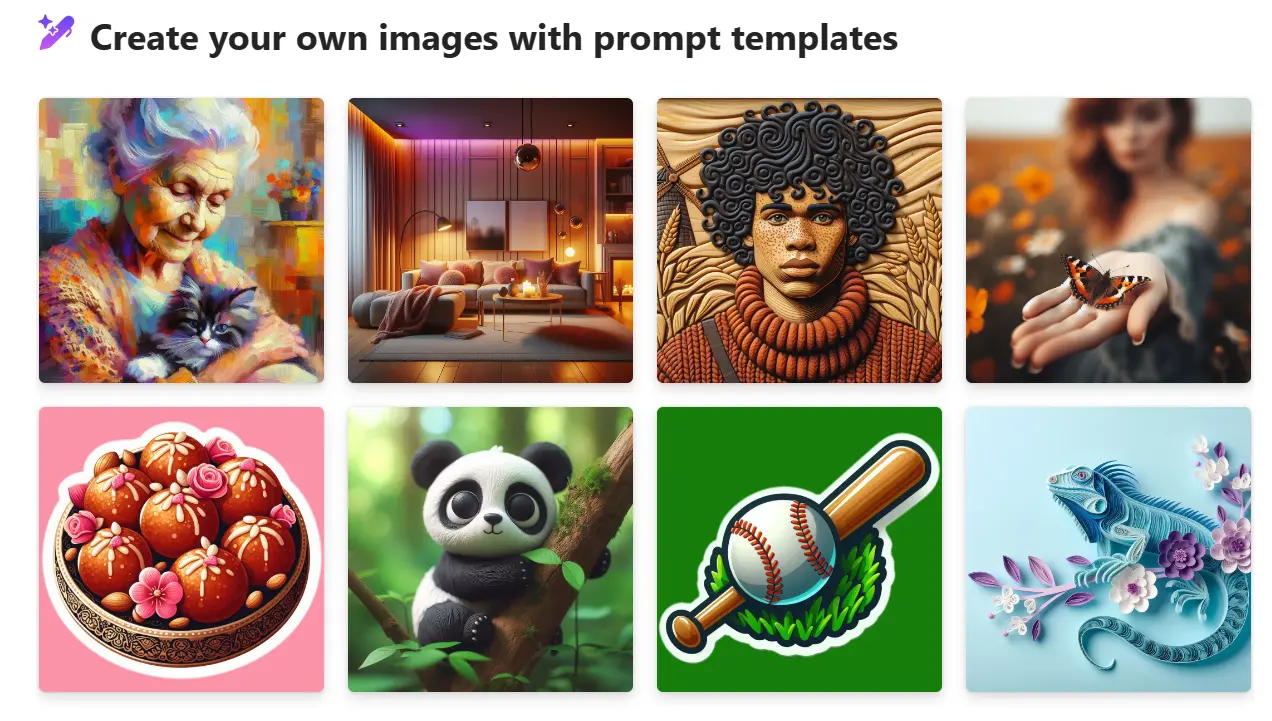
If you see an image that inspires you or matches the look you’re aiming for, select the image to use the prompt as-is or modify some of its features. This is a great way to kickstart your ideas if you need inspiration.
Option 2: Create your own prompt
If you already know what visuals you want, head directly to Image Creator.
In the prompt box, describe the image you’re aiming for with details like subject matter, style, background, lighting, artistic or photography elements, and overall mood or genre.
When you’re satisfied with your prompt, select Generate.
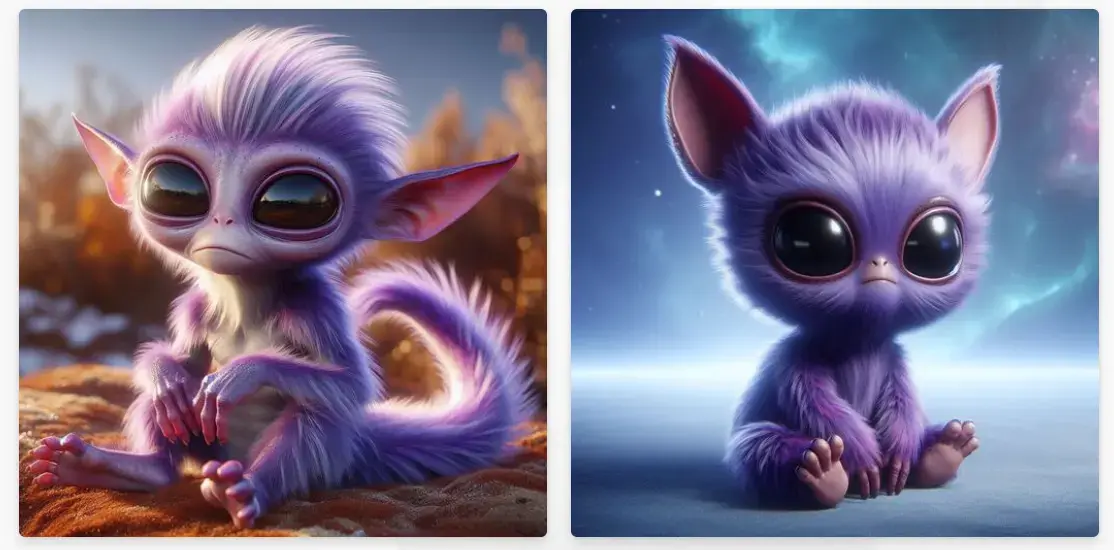
Prompt: A photorealistic image of an alien creature with purple fur, cute
You'll be amazed at the selection this generates!
Now, let’s say we’re working with a few creative partners on an animated film about space aliens. We love the aesthetic of the purple creature above and want to share the prompt so our creative partners can use it for inspiration. This is easy to do in Microsoft Designer.
How to share your prompt
Select the box where you entered your prompt, then select Share.

Put brackets around any words or qualities you want to turn into optional fill-in-the-blank boxes. The boxes let your collaborators modify those qualities (if they choose) while retaining key elements from the original prompt. This keeps the main concept intact while allowing others to bring a fresh perspective by playing with specific elements.
When you’re ready, select Next.
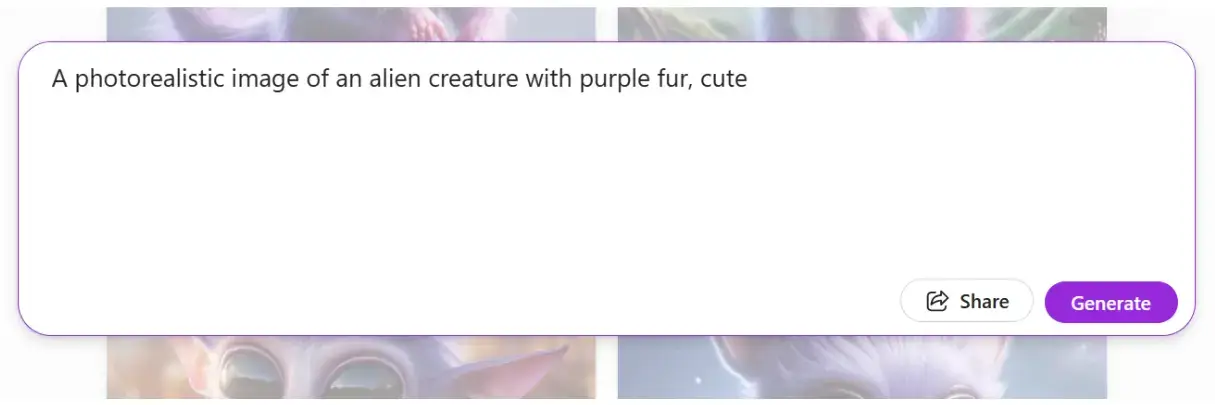
In the example above, we’ve bracketed the words “photorealistic,” “purple fur,” and “cute.” That creates a prompt that looks like this:

Happy with your prompt? After you select Next, Designer will spin up a link for you to share with your partners.
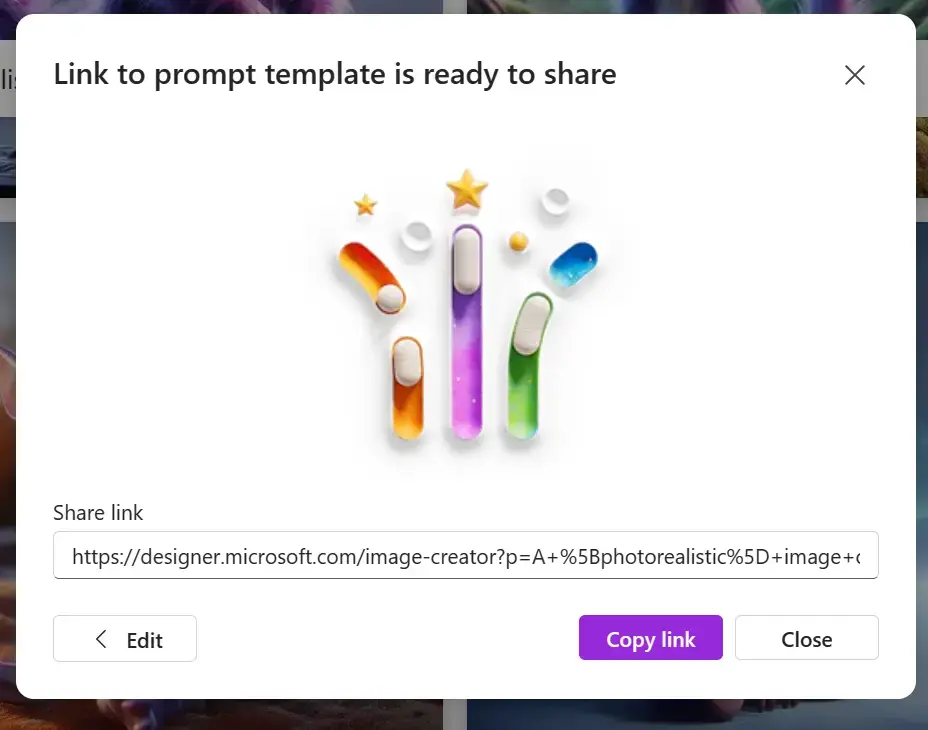
Copy and share the link, and you’re all set! Your partners can now build off your successful prompt by creating their own cute, silly, or fearsome alien creatures.
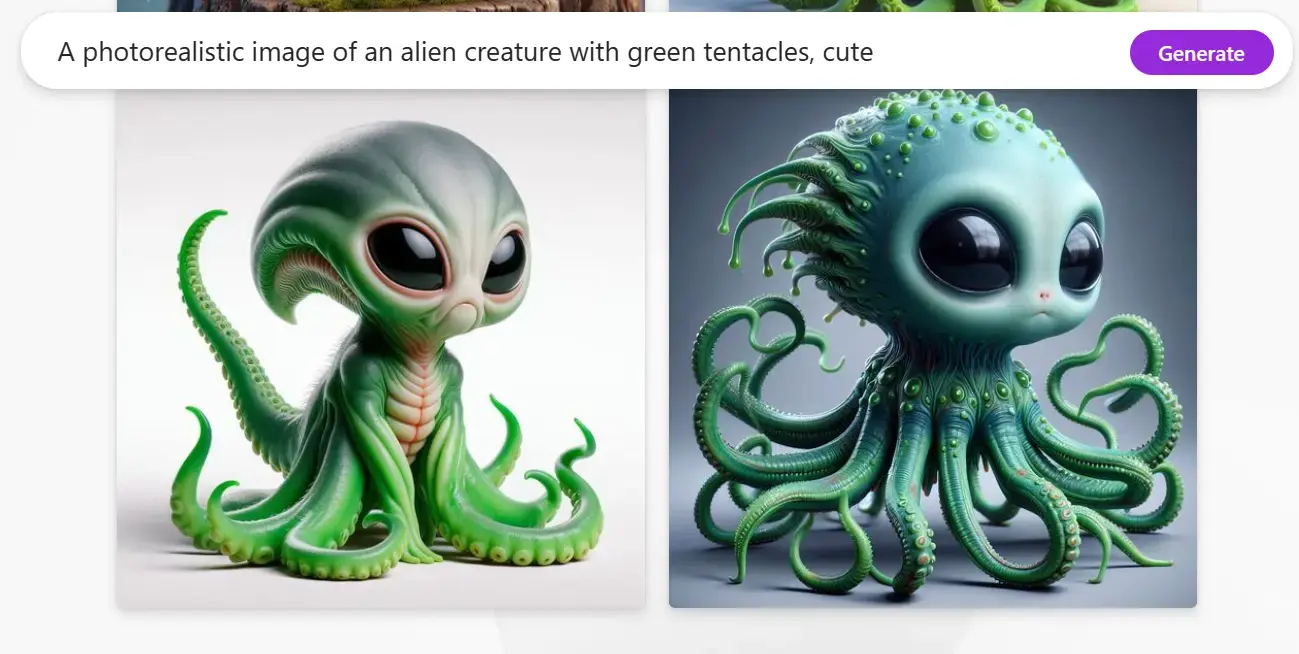
This method has transformed how I approach collaborative projects, making it much easier to manage consistency while allowing for customization. Give Microsoft Designer a try for your next project and see how much easier and more efficient your creative process can become!


