Microsoft Designer is an AI-powered graphic design tool that makes designing easy for professionals and creative enthusiasts alike. With a wealth of cool features to help you see your visions through, Designer lets you create professional-quality images and designs in record time. Let's check out some of the amazing stuff you can do with it!
1. Bring your ideas to life
Microsoft Designer’s Image Creator feature is powered by DALL-E, one of the best AI image generators around. Just tell Image Creator what you’re thinking and watch as the tool brings your wildest ideas to life. From abstract concepts to specific designs and artwork styles, the possibilities are literally endless.
Prompt: A vintage pastel pickup truck carrying fresh fruits and vegetables

2. Start with a prompt template
Feeling overwhelmed by all the possibilities? Start with one of Microsoft Designer’s tried-and-true prompt templates.
Each template offers a fill-in-the-blank style prompt with blank spaces corresponding to your desired objects, people, qualities, and image style.

It’s way easier than facing an empty prompt box, and you’ll still end up with a one-of-a-kind image tailored to your needs.
3. Turn your image into a complete design
If want to feature a specific image on an invitation, social media post, presentation, greeting card, or another design, Designer can whip that right up for you—layout, colors, text, the whole shebang.
From Microsoft Designer’s home screen, navigate to Design creator.
Select Add media and upload your image. If you created your image using Image creator, select the image. On the box that pops up, select Create design.

Write a prompt describing your design idea.
Prompt: A fresh and natural Instagram post promoting the latest offerings at a local farmer's market
.webp&w=1920&q=75)
Select the design that best matches your vision and start customizing.
4. Make things pop with color pop and background blur
Want to make something in your image really stand out? Try the Color pop feature. Pick an object you want to feature, and Designer makes it the star by converting the rest of the image to black and white.
Alternatively, use Background blur to create a depth-of-field effect, which makes your chosen subject pop by blurring out the rest.
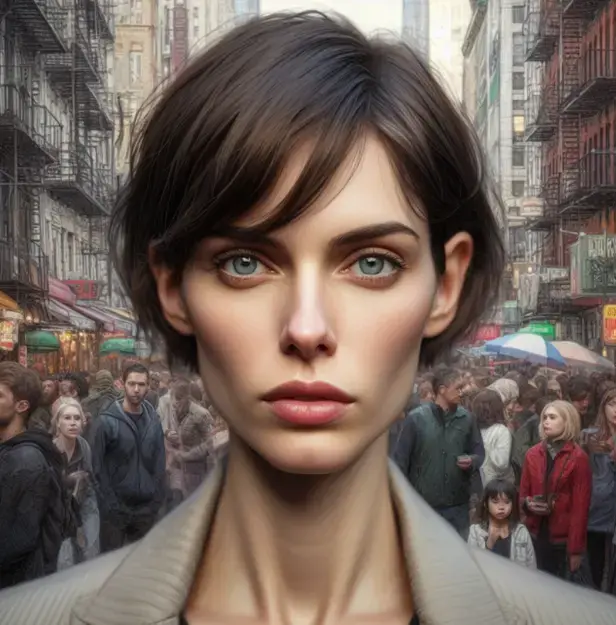
Let’s say we want to blur the background of this image:

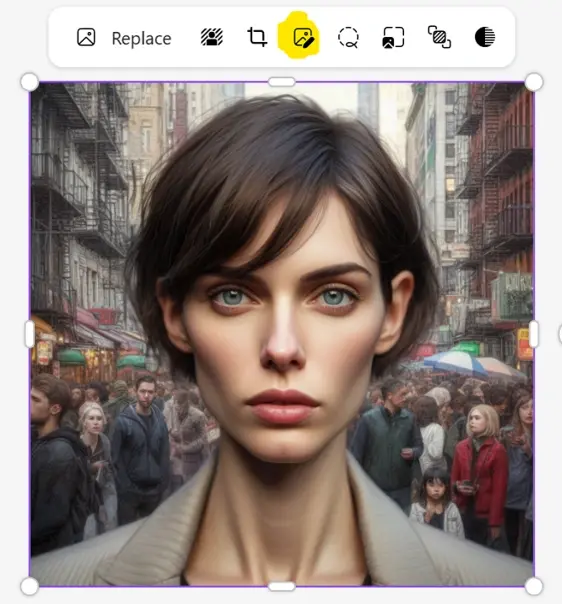
Select Edit image, then click on the image so the box of options pops up. Select the Image tools button highlighted below.

Select Blur background, and voila! An instant boost to the focus and impact of your image.

5. Give images an instant style makeover
Feeling adventurous with your style? Microsoft Designer lets you switch up your image's vibe in a snap. With a bunch of style filters to choose from, you can go from retro to futuristic, artsy to sleek – all with just one click.
To use a filter, navigate to the same Image tools feature we used to blur our background and scroll down until you see the filters. Select Show all to see all your options. Try different filters until you find your favorite (don’t worry; you can easily undo your changes if needed).

Try Microsoft Designer for free today
That’s just the beginning of what Microsoft Designer can do! This powerful free tool lets you enter a world where design is fun, easy, and absolutely limitless.
To get started, visit https://designer.microsoft.com and sign into your Microsoft 365 account or create one for free. Play around with these features, have fun, and see where your imagination takes you!


