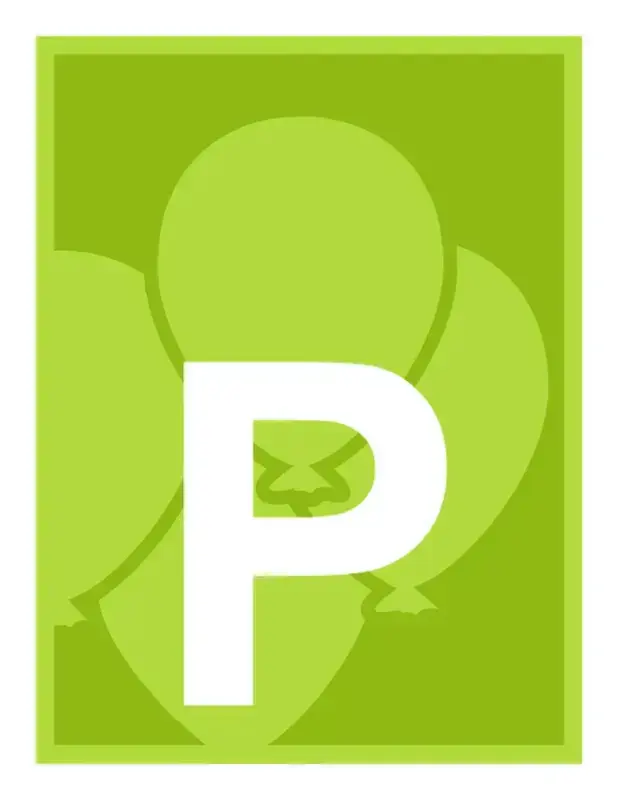
Bulletin boards are windows into the personality and vibrancy of your classroom. And you can add even more creative flair with bold, kid-friendly letters using Microsoft PowerPoint templates. In this guide, I'll walk you through each step so you can make your classroom an even more welcoming place for your students!
Set up your canvas
Open PowerPoint. In the Design tab under Page Setup, adjust the dimensions to 8.5x11". This ensures optimal printing.
Introduce a text box and adjust your font size to 700 if you want one letter per page. If you have a smaller bulletin board or don't want to print as much, adjust the size until you can fit a few letters on the same page.
Opt for a bold font to help the letter stand out and make them easier to cut out later.
Experiment with text effects and outlines
Now, it's time for some creativity! Navigate to Format Text Effects. For now, select Solid Fill as the base color so you can experiment with diverse outlines and colors.
I especially love PowerPoint's Compound type and Dash type features. Both of them mimic cutting effects, letting you engage young learners by having them cut out or trace the letters. These interactive elements turn the letters into educational tools (and as a bonus, you won't have to cut all the letters out by yourself!).

Play with color and gradients
Click on Gradient Fill and explore the preset gradients to make your letters even more vibrant. You can also manipulate the gradient stops to achieve a more customized look.
Use the paint bucket tool to incorporate additional colors, experimenting with color variations, gradient stops, and gradient directions. Stop when you find a blend that perfectly captures your classroom's personality.
Explore other fills and effects
If you're having fun, keep experimenting! Here are two additional customization options I love:
- Use a solid fill and a strong outline to make your letters extra readable and attention-grabbing. Adjust the line with to 100 to ensure the outlines are bold and visually striking.
- Shift the outline to white and use the Glow feature to add an extra layer of visual interest to your letters. Choose from an array of presets and customize the glow color to complement your color palette.
- As mentioned earlier, use Compound or Dash type to create dashed outlines students can trace or cut out.
.webp&w=1920&q=75)
Print and cut out your letters!
When you're happy with your banner, hit Print and then cut your letters out!
If you work with younger students who are exploring their fine motor and/or artistic skills, pass a letter to each of them for coloring and/or cutting. When you hang up their letters later, your banner will transform into a beautiful collaborative work of art by your students.
Enjoy your new masterpiece! And thank you for making a difference in your students' lives every day.💖


