I’m a mom to two incredibly creative girls, and I recently discovered a fun and innovative way to nurture their creativity even further. I've started creating personalized coloring books using Microsoft Designer's AI tools. The process has been both exciting and surprisingly simple!
In this blog post, I'll share with you how you can do the same for your little ones. We’ll be working on a winter wonderland-themed book today, but you may pick any theme that sparks joy and creativity in your family.
Getting started with Microsoft Designer
First, navigate to designer.microsoft.com. Here, you’ll be greeted with a text box where you can tell the AI what kind of design you want to generate.
For the project in the video, I chose a “winter wonderland” theme. For this blog post, I’ll update the season to Spring.

Designing your coloring book
Not only does Microsoft Designer understand your initial request, but it also suggests additional details to enhance your creation!
From here, the process is straightforward:
Select your image: Click on the image you like. This image is for the cover of our coloring book, so we don’t need to worry if it's not in black-and-white. (Unless, of course, you want the cover to perform double duty as a coloring book page—or you’re trying to save on ink! If that’s the case, specify “black and white outlines” in your initial prompt).

Resize your project for printing: In the upper right-hand corner, you'll find an option to resize your image. Scroll down and select Show all, then select "US letter portrait." This is the size you want if you want the project to fit a standard paper size.

Add more pages: Microsoft Designer lets you add as many pages as you like to your design. Simply hit Add page followed by Add blank page to start designing the pages of your coloring book.
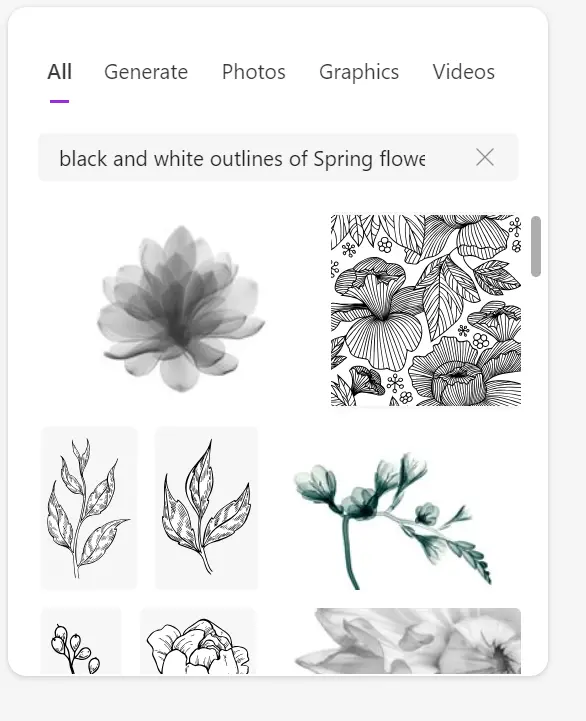
Use AI for custom visuals: Select Visuals and then Generate. Instruct the AI to create black and white outlines of your chosen theme or setting, suitable for a coloring book.

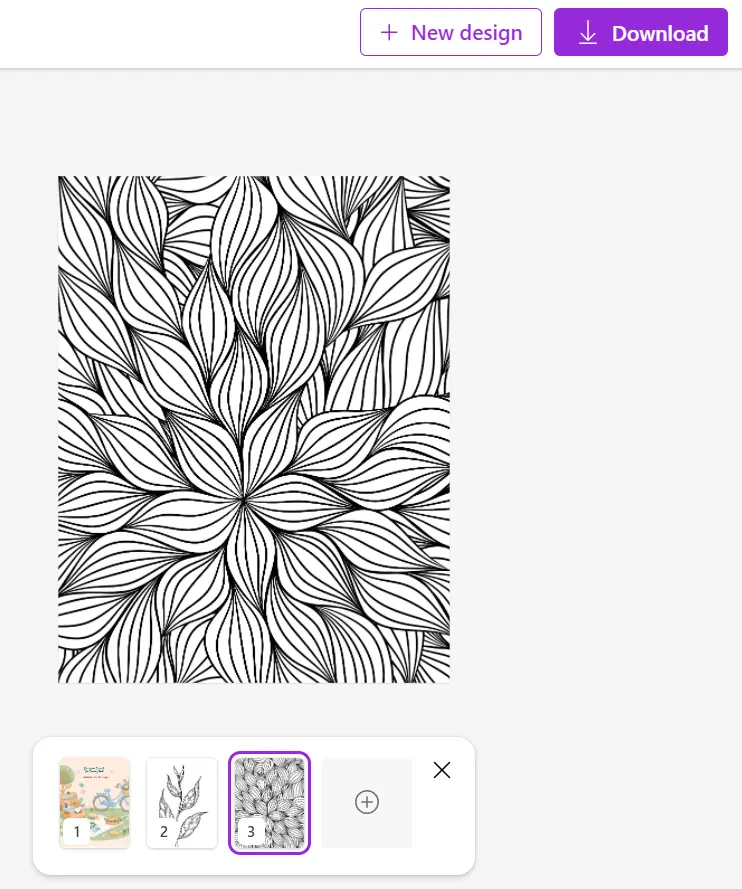
The AI will present you with a selection of images to choose from. Select an image you like and drop it onto the new page you created. Expand the image size until it fills the page.
If you’re not seeing any images you want to use, brainstorm specific people, places, animals, or objects that fit your theme. For example, a spring-themed coloring book could include tulips, daffodils, butterflies, bees, and baby chicks.
Once you have your list, revise your prompt so it focuses on one of your more specific ideas (Example: “Black and white outlines of baby chicks for a spring-themed kids’ coloring book”). Repeat the process with your other ideas to create additional pages.
Finalizing your coloring book
Once you have a variety of pages for your coloring book, it’s time to download your creation. Simply press Download in the upper right-hand corner to save the coloring book to your downloads folder. It is now ready to be printed!

Ready, set, create!
In this digital age, blending technology with traditional activities like coloring can provide a fresh avenue for creativity and learning. The satisfaction of making something unique for your children is unparalleled, not to mention watching their imagination come to life through coloring.
I encourage all parents to visit Microsoft Designer and try making your own DIY coloring book. Select a theme your kids love: Animals? Cars and trucks? Princesses and unicorns? The possibilities are endless! So, what will you create?


