Hey there, parents and fellow educators! Did you know that Microsoft has templates we can use to make a fun and engaging activity book for kids and students? Today, I want to show you how I created a growth mindset activity book using these awesome resources.
Follow along and watch this fun, easy activity come together.
Why a growth mindset activity book?
A growth mindset is the belief that we can get smarter and more skilled at pretty much anything, as long as we put in the effort and keep at it. It's about understanding that challenges and setbacks are just part of the learning process, not signs to give up.
This shift in thinking makes learning a whole lot more fun and less stressful. Instead of freaking out over getting something wrong, students learn to see it as a step towards getting it right. And that, in turn, helps students become resilient and adaptable people who are ready to tackle any challenge life throws at them!
How to create a growth mindset activity book: step by step
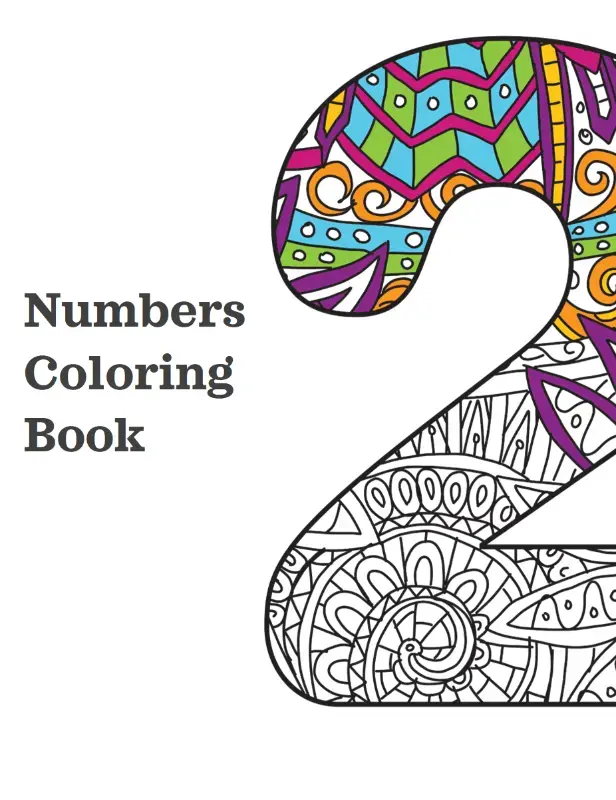
1. Choose your template
First, head over to create.microsoft.com and explore theircustomizable coloring book options. These templates serve as a creative canvas for educators to design fun and educational resources.
You'll find a variety of adorable templates to choose from. I decided to customize the Feelings Monster coloring book.

2. Customize the cover
To make my activity book a growth mindset themed book, I started by changing the text on the cover. I highlighted the text and used the eye dropper tool to match the font color to the cover design.
Microsoft's user-friendly interface allows for easy customization. If you want, you can also tailor the provided images to suit the theme of your activity book.
3. Add some writing prompts
Next, I focused on creating engaging prompts for social-emotional learning time. These prompts will encourage students to reflect and respond, giving them designated spaces for writing and self-expression.
Here's how I added these:
- I took the existing text boxes and turned them into interesting writing prompts for my students.
- To give them space to write, I inserted a line using the Shapes tool. I changed the color and weight of the line to make it thicker and easier to see, then aligned it to the center of the page using the Arrange button.
- I duplicated the line twice to create three writing spaces.
4. Add a coloring activity
For the next page, I wanted to include a coloring activity. Adding different activities on each page helps keep students calm and engaged.
- I went to Insert > Table and created a small table for my students to color. Using the top panel, I customized the prompts to fit our social emotional learning goals.
5. Personalize with activities and images
For the remaining pages, add activities and personalize to your heart's content! Here's how I personalized mine:
Create a versatile table activity
First, I went to Insert > Table and added a small 1-column table on the side of the page.
I'm going to have my students color the table in with their favorite motivational colors, but you could also have your students write in words that describe their feelings from the week. It's all about tailoring this versatile table to your students' needs.
Add images
I clicked on Insert and searched for a small arrow icon, which I added to the page. This gives students a helpful visual cue about where to color.
Add an interactive speech bubble
To add a fun interactive element, I inserted a speech bubble shape and changed the fill to white with a black outline.
This way, students can write their responses inside the bubble. You could even have your students come up with their own prompts to give them ownership of their SEL time.
Add a step-by-step activity
On the final page, I created a step-by-step activity. I inserted a few boxes using the shapes tool, changed the fill to white, and outlined them in black. Then, I resized the boxes to fit several on the page. I headed back to the icons and inserted a few more arrows so students can fill out the steps in order.
6. Download and print!
Once you're done customizing your activity book, you can download and print it for your students to enjoy.
I hope this tutorial has inspired you to create your own growth mindset activity book using Microsoft templates. Head over to create.microsoft.com and start designing! Your students will love the engaging and personalized activities you create for them.


