Looking for a fun way to engage your students and celebrate their unique qualities? Make each student feel special with their own personal trading card!
While this task may sound time-consuming, Microsoft Designer makes it fast and easy with AI-generated images and customizable templates. Here's a step-by-step guide on how to create these memorable keepsakes.
Step 1: Set up your project
Begin by visiting designer.microsoft.com and navigate to Image Creator.
For the trading cards we’ll be making today, we’re going to edit one of the existing prompt ideas featured on Image Creator’s home screen. If you’d like to do the same, scroll down and select this image:

That will bring us to the prompt we’ll be editing throughout to create our trading cards.

I like the claymation-style prompt because it’s playful and allows for a lot of creativity in the design.
Of course, you are also welcome to write your own prompt from scratch! Before you start crafting your prompt, study the features of the claymation prompt above and note what the customizable options are. They include:
- Gender
- Clothing
- Name*
- Hair and eye color
- Object or accessory [a camera with a lightbulb in the original prompt]
*AI image generators are still a bit finicky when it comes to rendering words. If the image generator can’t get your student names right, omit this element from the prompt. You have the option of adding text later anyway!
Consider making the same features customizable in your own prompt. This will allow you to make each student’s playing card look like them and reflect their attire or favorite sport/hobby (by outfitting them in a basketball jersey or lab coat, for example). Plus, they’ll be holding or carrying something they love.
It’s a perfectly personalized recipe, and yet you won’t have to write a new prompt from scratch for each student.
Step 2: Customize the prompt with student details and generate images
Now the fun begins! Grab your list of students and customize the prompt to reflect the first student’s appearance, hobbies, and notable characteristics. The more descriptive you are, the better the AI can generate images that reflect each student's personality.

Select Generate.

Select the image you like best and then Edit Image.
Each image will automatically save within the designer platform, allowing you to make adjustments or generate multiple versions easily.
From here, you can either select Create Design to start working with the image right away or simply return to Image Creator and make your next student image. I prefer to make all the student images first, then make the trading cards and add the images.
Step 3: Design the layout
Once you have the images, it’s time to design the card layout.
Start a new project within Microsoft Designer. When the prompt box appears, scroll to the bottom and select Skip and start with a blank design.

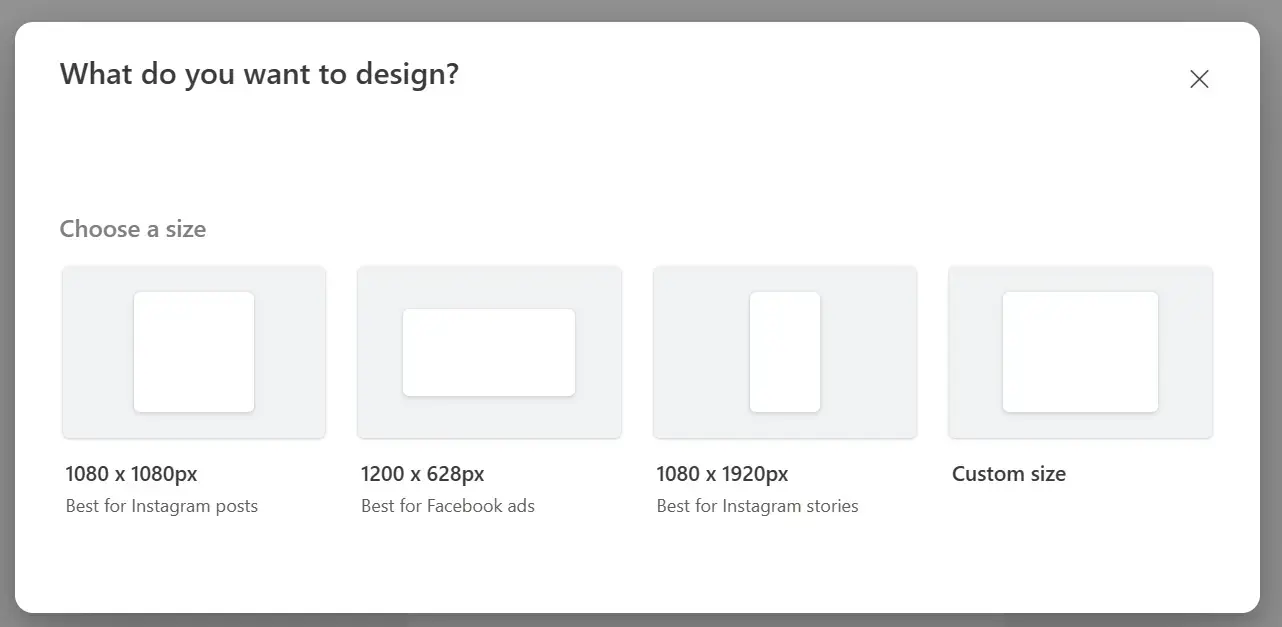
When prompted to choose a size, select any size. You’ll be changing it momentarily.
On the next screen, select the image and a toolbox of options will appear. Select Resize.
Scroll down and select Show all, then select US letter portrait or US letter landscape (I’m using landscape).

You’ll be making the individual trading cards within this project so you can print them easily later.
Now, navigate to Visuals > Filled shapes and select the rectangle. This rectangle represents one trading card (or one side if you want the cards to have a front and back).
Adjust the rectangle to the size of your liking. Then copy and paste it so it fills out your canvas several times.

Step 4: Add text and visuals
Navigate to My media, where you’ll find all the student images you just created. Select the first student image and start designing your card.
Use the Text section on the left panel to add the student’s name and (optionally) grade.
Search for additional visuals like stars or small icons that represent the student’s interests to make the cards more engaging. Adjust the text font and color to match the overall design.
Add rectangles to create colored backgrounds and add text boxes for the student's name, grade, and other fun facts or stats.
If you want your trading cards to have a back, design it in another rectangle. Use text boxes to add the student’s grade and other fun stats. If you’re pressed for time or you don’t know your students well yet, make the categories and leave the answers blank. After you print the cards, your students can fill them out by hand as a fun activity!

Step 5: Assemble the remaining cards
When you’re satisfied with your design, duplicate it and replace the remaining green rectangles. This is now your template. (We added the rectangles early so we wouldn’t have to fuss with sizing after creating the design).
Now, insert the AI-generated images for each student and update the text.
You can also play with changing colors or updating the star icons to different icons that represent each student, aiming to keep key features like layout and font consistent.
Step 6: Finalize and print
When you’re satisfied with the designs, Download the project as a PDF for easy printing.
Print the cards, cut them out, and glue them front to back.
Your cards are now ready to be handed out as gifts or included in a fun interview-style activity!
Celebrate your students with Microsoft Designer
Creating personalized trading cards can be a delightful project for any educational setting. It’s a unique way to highlight and celebrate your students’ individual traits, and your students will love them.
Head over to designer.microsoft.com to get started on your brilliant custom trading cards today!