I've always been a stickler for organization, and my to-do list is practically my lifeline. So, I decided to take things up a notch and create a custom to-do list right in PowerPoint, tailoring it to my exact needs and style preferences. Here's how I did it:
1. Set up your canvas
First, set up your document so it's perfect for printing.
- Open a new PowerPoint presentation and select the Design tab.
- Adjust your page setup to 11 inches by 8.5 inches to ensure your list is ready for print.
2. Begin with text
I wanted my list to pop, so I inserted a bold, clear text box right at the top. Choosing the right font was crucial – it had to be bold and big (I went for size 80). Then, to make it uniquely mine, I used the eyedropper tool to select the perfect color that resonated with my vibe. To follow along:
- Insert a text box and add your main header or list title. Use a bold font for clarity.
- Adjust the font size as needed (consider using at least size 80 for visibility).
- Personalize the text color using the eye dropper tool to match your preferred color palette.
3. Enhance with shapes and colors
My list needed some structure, so I added a rectangle for the main body, ensuring it had a white fill and a sleek black outline. But why stop there? I added another smaller rectangle for subheadings, tweaking the fill and weight for some extra oomph. To follow along:
- Use the Shapes tool add a rectangle, opting for a white fill and black outline for a crisp look. This will be the backdrop for your list items.
- If you want subheadings or sections, insert smaller rectangles and adjust the fill and outline accordingly.
- Use other shapes, like circles, to add variety or emphasize certain list elements.
- Add icons (like an email symbol) to quickly communicate the nature of tasks and make your list more user-friendly. To add icons, go to Insert > Icons.

5. Group and duplicate elements
After placing my shapes and text, I grouped them together to ensure the do-to list remains organized. Follow along:
- Once you've arranged your shapes and text, group them by holding down the Shift key and selecting the elements, then right-clicking to choose Group. This makes moving or duplicating sections much easier.
- Duplicate any elements or sections as needed to build out your list structure.
6. Add personal touches
This list was all about making my day-to-day easier, so I inserted more text boxes for different categories – purchases, meetings, you name it. I also added fun icons like an email symbol or a little car for errands, making the list more user-friendly with a quick visual cue for each category. Follow along:
- Insert additional text boxes for specific tasks or notes. This is your chance to tailor the list to your needs, whether it's for classroom tasks, errands, or reminders.
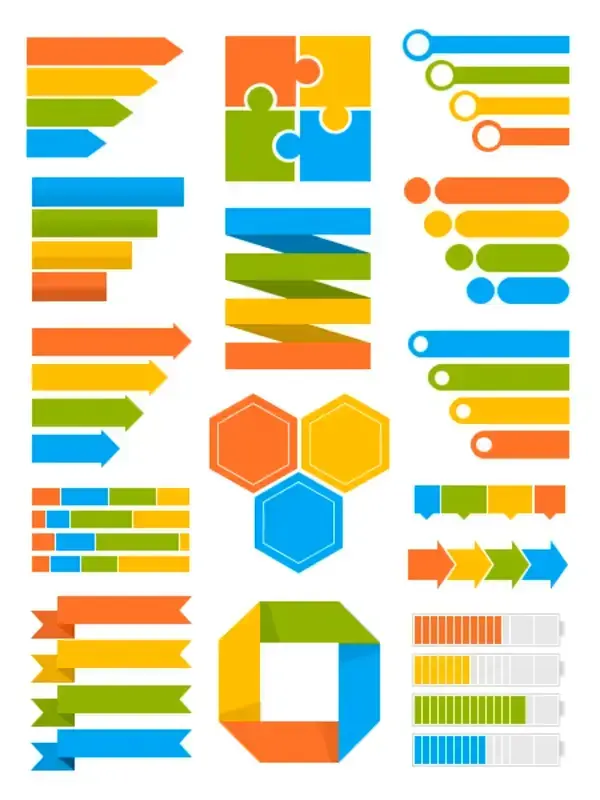
- Explore the Insert tab for icons that can symbolize different tasks (like an email icon for correspondence or a car for errands). You can also find icons on this infographic shape template.

Finish the list with flair
I wrapped up my list by adding a final rectangle at the bottom for those all-important, can't-forget-them reminders. This final addition also established a clean boundary for the to-do list, making it look more visually appealing. Follow along:
- Head to Insert > Shapes and add a final rectangle to the bottom of the list.
- Adjust the rectangle's fill and outline to match your design, creating a cohesive look.
With your design complete, you've now transformed a simple PowerPoint slide into a customized, printable to-do list. Enjoy ticking off those tasks in style!


